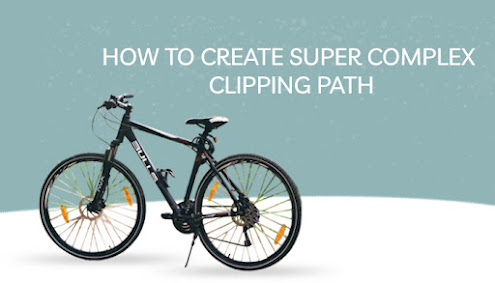
How to Remove Background using Photoshop CS6
The world has been digitalizing everything now. In this
digital world, photographs are playing vital roles. Starting from selling the
products to wedding, everything is needed good photographs. Good photograph is
the way of showing the things in a good manner. However, the photos might not
be that impressive if the background is not good. Hence it is essential for a
photograph to have a good background. When you think your photo is not having
an attractive background, you can easily remove or replace your background if
you know how to remove background in Photoshop. Here I’m going to show some simple
steps of background
removal by using Photoshop CS6. Let’s get started.

Open an Image
The first thing you need to do is, open your desired image
in Photoshop CS6. Go to File>Open. You will get a windows dialogue box. Go
to the file location, click on the image and press enter on keyboard. Your file
will be opened on Photoshop doing that. You can also just go to the file
location and drag the image to Photoshop to open the image.

Select Pen Tool
There are several tools for drawing clipping path over the
object to remove background. But the most effective tool for background removal
is the pen tool. We are going to activate the pen tool. Click on the pen icon
from the tool bar to activate the pen tool. You can also activate the pen tool
by pressing ‘p’ on the keyboard.

Take Path Layer
There are different layers in Photoshop to work on different
things. I have to select path layer to draw clipping path over this object. Go
to the layer panel and click on the path button. Look down and you will see a
square icon. Click on that icon on the panel and a new path layer will be
created.

Draw the Outline
Now it is time for drawing the clipping path outline over
the chair photo we have selected. At first, you need to draw the outline around
the chair. As you can see, there are straight lines and curves as well. Draw
the outline keeping the shape of the object in mind. Close the path of the
outline well and do it precisely so that no background could come.

Fill the Loops
If you have any hole or loop in your object, you have to
fill the loops by drawing clipping path there as well. It is the same technique
like how we drawn the outline. It is just you need to draw the clipping path
inside. So find out how many holes or loops the object has. Fill up the loops
by drawing clipping path on those areas.

Make Selection
After completion of drawing clipping path over the object
and filling the loops, we will make the selection. Select path layer and press ‘ctrl+enter’
on keyboard. Entire path will be selected by doing that.

Remove the Background
Just press ‘q’ to remove the background. You can select any
color from the color pallet from the tool bar and can also replace the
background keeping the main object intact.

Conclusion
So this is the technique which is going to help you to do
background removal using Photoshop CS6. So just follow these simple steps and
make it done by yourself